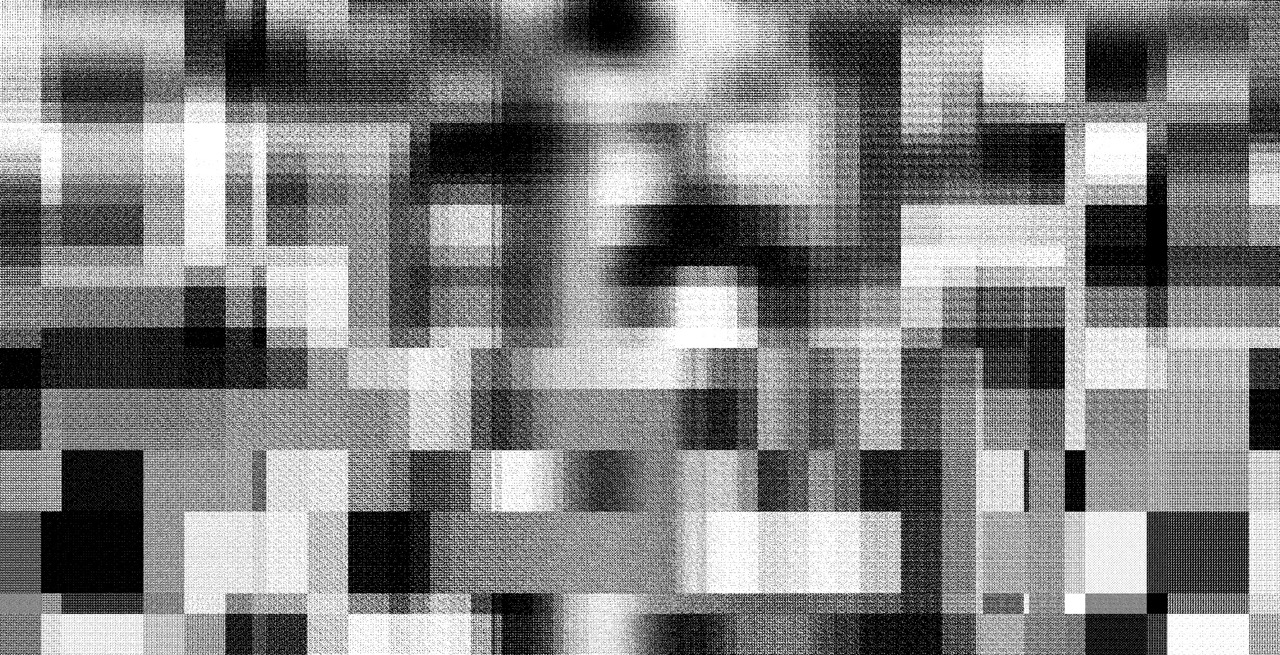
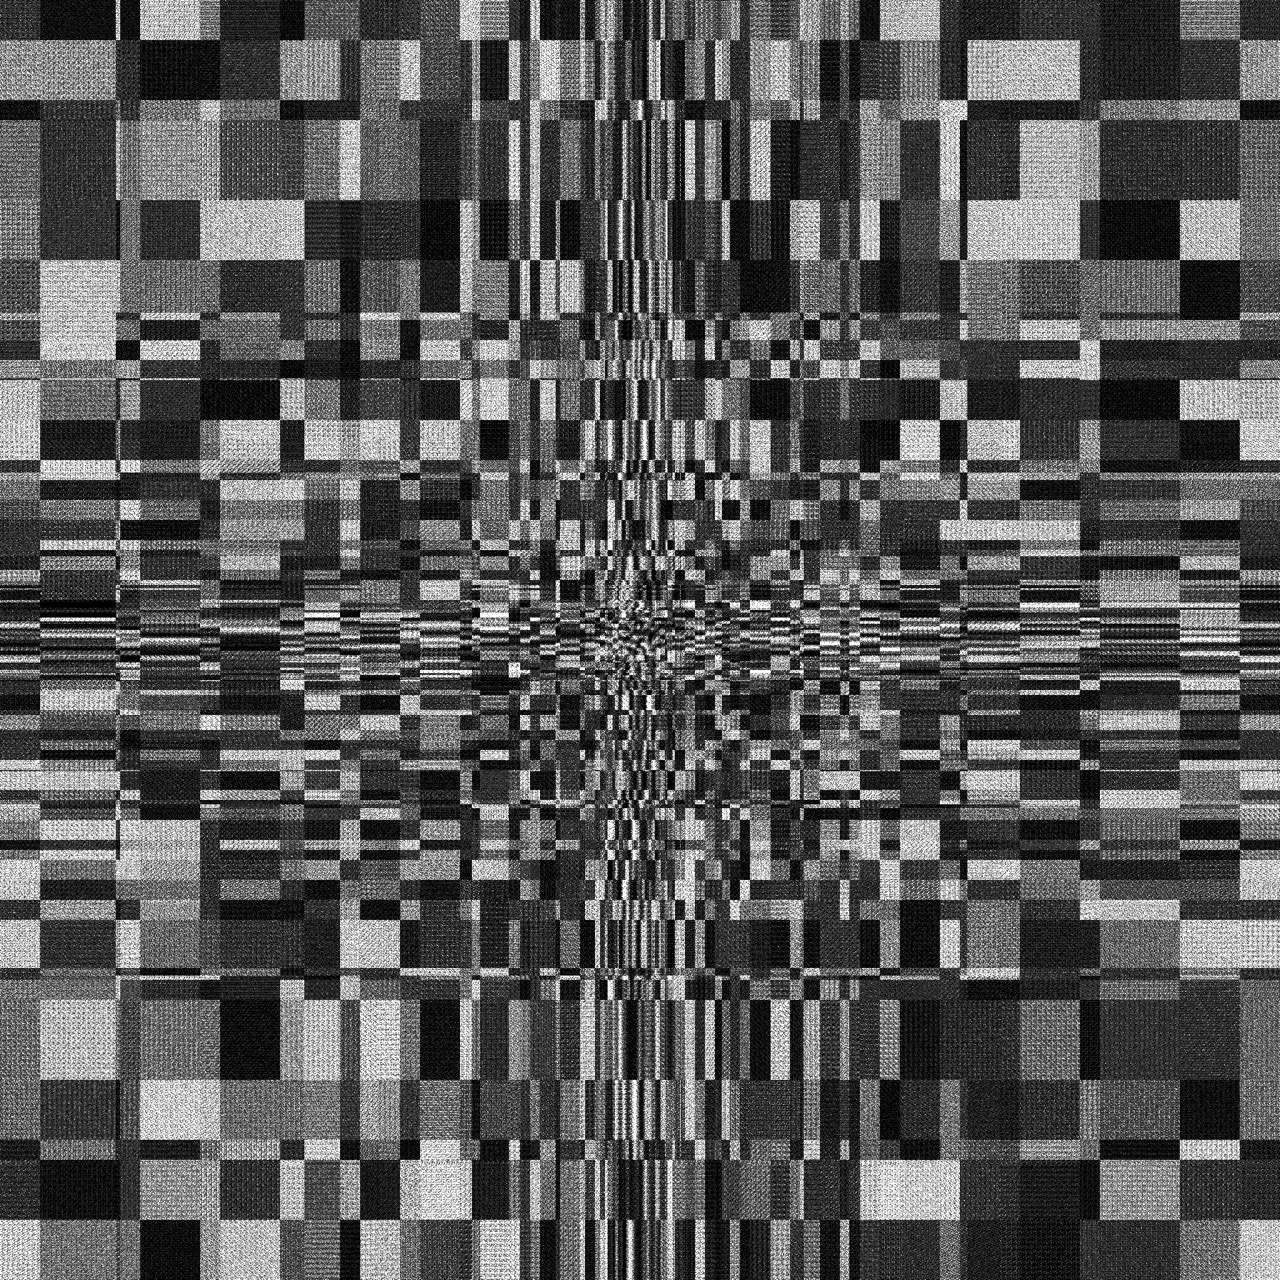
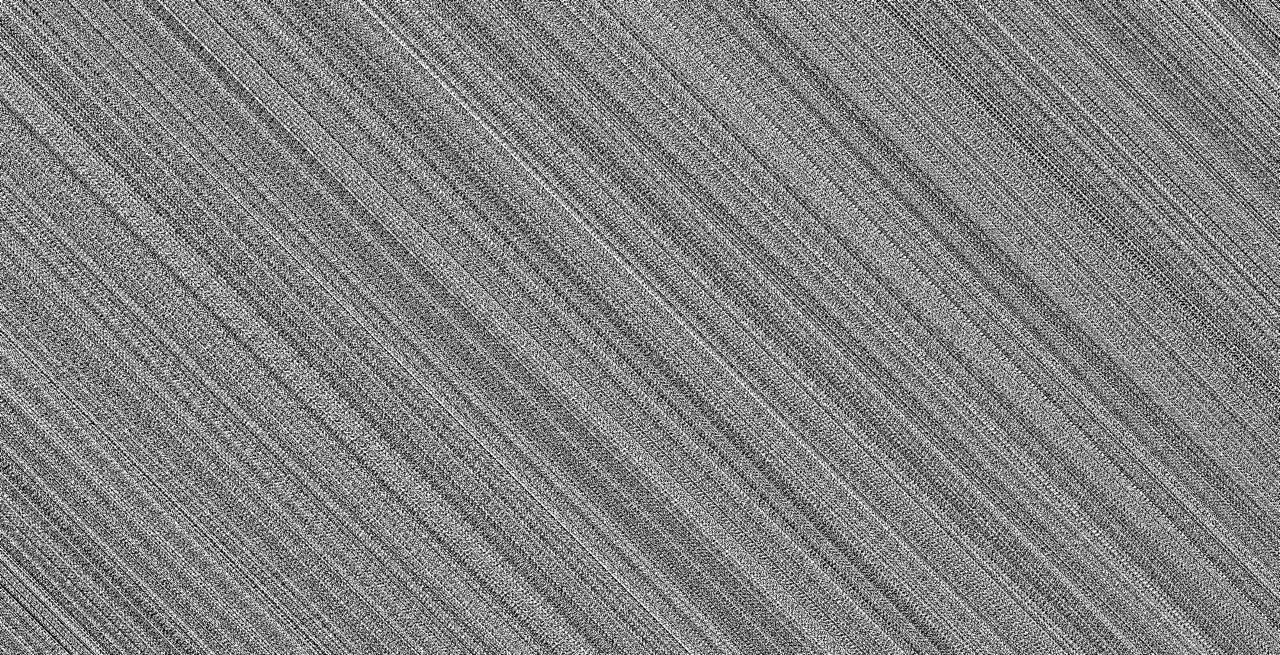
Some glitchy sweet spot in the noise generator of touch designer.
Works well with the perlin and simplex.
- Period -
0 - Harmonics -
>3 - Harmonic Gain -
max - Harmonic Spread -
tweak to find the spot
Operators
TAB to open the operator Window (TAB again to go trough the tabs)
For each family
Darker Shade : Generator
Lighter Shade : Filter
Cable
Cable can only be plug between objects of the same family
When they are animated, they are streaming data (cooking)
Links
Links are grey lines with moving arrow
They can be between different operator family
To render and SOP to TOP (going from 3D to 2D) You'll need 4 elements
Geometry (What is the form)Camera (Where is the eye)light (Where is the light coming from)RenderInput your SOP Composition in the Geometry (For this you need to add the geo by right
clicking the output of the SOP)
Chose where is the light coming from by tweaking the light parameters
Chose where the "eye" is by tweaking the Camera parameters
line objectPattern Objectchannel to shapenull terminaisonchopTo after the line
null in itChannel Scope to shapeAttribute Scope to P(1) (We want only one axis to be affected)You should have an error on the chopTo, it is caused by the difference of point in the line and in the pattern
channel to segments
The Pattern and the line should now have the same number of point and a sine should appear in the chopTo (If not, verify that you are looking at the right axis)
We now have a way to bend the line, let's custom the pattern to have a more leafy shape
Type to RampTaper to around 0.2 to bend the functionOnce the half of the leaf have the correct shape, we can double it
Copy After the chopTo
Number Of Copy to 2Ry Scale to -1To fill the frame, you can use skin or polypatch, polypatch allows
for more precise control of the 3D geometry. To see the modification you can use the w
shortcut to toggle the wireframe view.
Polypatch after Copy Attribute Create after Polypatch
Compute NormalsInteresting parameter to tweak to go closer to a flower petal :
Pattern Taper Decay & Amplitude, disable the reverse
Play around by using the math chop and adding modulation, for an oak leaf, you could add sine and noise
to alter the edge of the model
To Gain More Control, After the Attribute Create
Twist that let you bend and twist the modelTransform That let you rotate and resize the modelCopy after the TransformCircle , terminate it with a SOP Null and connect the
Null to the second input of the Copy
Copy will add a flower at each normal of the circle, to see the normals of the circle, right click
and select display setting, you can then show the normals We need to point the normals in the right direction
Point before the Null
Keep Normal to Add Normal and set click + juste
below to unfold the parametersnx to me.inputPoint.xny to me.inputPoint.ynz to 0Now leaf should be facing outward
If the normals aren't correctly sized add a facet before the the null and
toggle Make Normals unit Lenght
The Number Of division of the Circle let you set the number of petals,
transform before the Null
Uniform Scale let you resize the circle, thus setting the spacing between the
PetalRotateX to 90texture after the Attribute CreateNext we will need a Render Setup
To render and SOP to TOP (going from 3D to 2D) You'll need 4 elements
Geometry (What is the form)Camera (Where is the eye)light (Where is the light coming from)TOP Render
Input your SOP Composition in the Geometry (For this you need to add the geo by
right clicking the output of the SOP)
light parametersCamera parametersYou can now toggle the blue circle on the render to view the result
Phong
Noise
Null Null on the phong, select Diffusion MapNoise Period to have the wanted gradient on the leaf
Noise and the Null, add a TOP
LookupRamp and connect it to the second input of the lookupsaturation and hue to taste for a leafy color (green /
orange gradient for exemple)
Some glitchy sweet spot in the noise generator of touch designer.
Works well with the perlin and simplex.
0>3maxtweak to find the spot